Dynamic Content
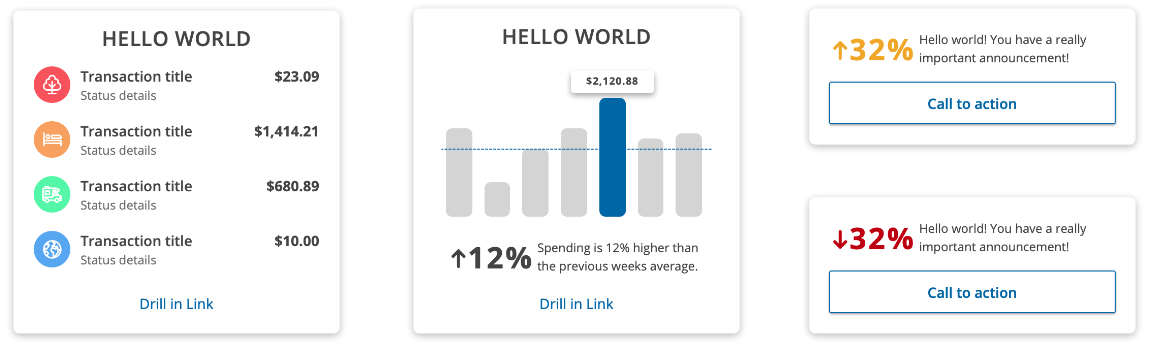
Dynamic Content blocks are focused, responsive blocks of content or information that can be used by financial institutions when building out their Composable Dashboard.
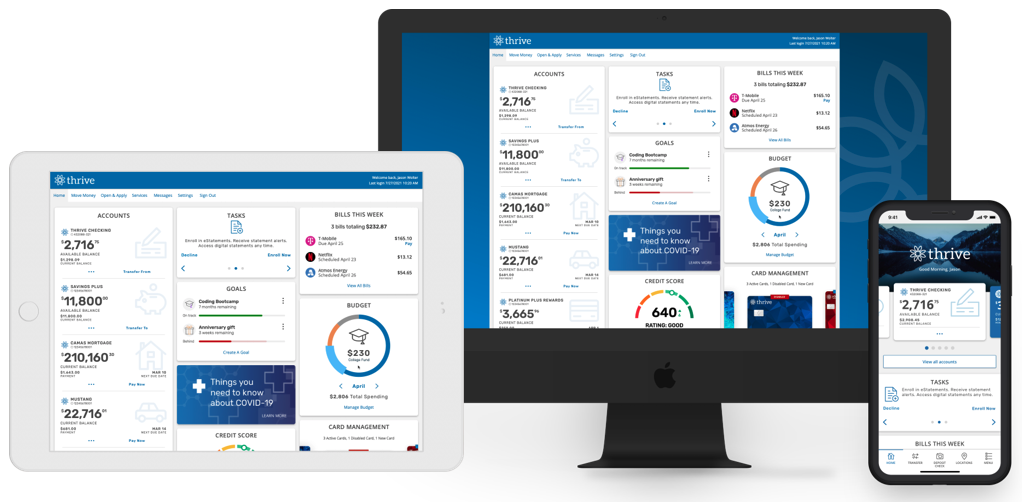
Extensions configured as dynamic content blocks are made available to users of the Dynamic Content Management administration tooling available via Q2Config. The administration tooling allows FIs to configure their end-users online banking experience by getting the right content, to the right segments of their user base, at the right time.
Additional guidelines and design guidance on Dynamic Content blocks can be found in our Tecton guides.
Warning
SSOs, Enhanced SSOs, and nested iframe content are not supported as Dynamic Content blocks. Please use Tecton Server Side Rendered (SSR) or Client Side Rendered (CSR) extensions for Dynamic Content blocks.
Configuring your entrypoints as Dynamic Content
You can configure an extension entrypoint as Dynamic Content via the q2 tecton CLI tool. For more on the Tecton CLI tooling, visit Custom Tecton Configuration.
When running q2 tecton, you’ll first be prompted to choose an extension to start. Here, AccountDashboard is used as an example:
$ q2 tecton
Which extension would you like to configure?
    1)AccountDashboard
Once you’ve selected an extension, choose the Outlet Configurations option to continue:
Which Tecton configuration would you like to manage for AccountDashboard?

1) Entrypoint Configuration
2) Overpanel Configuration
3) Available Parameter Configuration
4) Dropdown Navigation Configuration
5) Outlet Configurations
After you have selected an the Outlet Configurations option, choose the Content Block Outlet / UUX Composable Dashboard Config option:
Which outlet configuration would you like to manage for AccountDashboard?

1) UUX Tabbed Outlet Config
2) Content Block Outlet / UUX Composable Dashboard Config
3) Application-level Outlet Config
4) Dispute Tracking Workflow Outlet Config
After choosing the outlet configuration, you’ll be prompted to choose an entrypoint that you would like to configure:
Which entrypoint of AccountDashboard do you want to modify configuration for?

1) Main
Now you have the choice to enable or edit your current configurations, or remove them from the entrypoint altogether:
Would you like to enable, disable, or edit dynamic content configurations for Content Blocks?

1) Enable/Edit
2) Disable
When enabling or editing, you’ll run through a series of prompts that will add or update the dynamic content configurations to your configuration/ExtensionName.py file.
##### NON EXPORTED CODE HERE -- PREPEND ALL NON EXPORTED VARIABLES WITH __ #####

##### DO NOT EDIT BELOW THIS LINE -- AUTO GENERATED CONFIG #####

FEATURE = {
    "core": False,
    "modules": {
        "Main": {
            "overpanel": False,
            "primary": True,
            "navigable": True,
            "formPostAuth": True,
            "url": "./sdk/authenticated/{featureName}",
            "meta": {
                "type": {
                    "shape": "Content",
                    "context": "None",
                }
            }
        }
    }
}
##### NON EXPORTED CODE HERE -- PREPEND ALL NON EXPORTED VARIABLES WITH __ #####

##### DO NOT EDIT BELOW THIS LINE -- AUTO GENERATED CONFIG #####

FEATURE = {
    "core": False,
    "modules": {
        "Main": {
            "overpanel": False,
            "primary": True,
            "navigable": True,
            "formPostAuth": False,
            "url": "{BASE_URL}/index.html",
            "meta": {
                "type": {
                    "shape": "Content",
                    "context": "None",
                }
            }
        }
    }
}
Selection Screen Name and Description |

Reserved Height for Loading |
The first prompt will ask you to input the name you would like visible for your content block in the Dynamic Content Management administration tool.:
What name should be shown in the Dynamic Content Management administration tool?:
Note
See guidance below for important information about the content block name vs. extension title.
Second, it will ask you to input the description you would like visible for your content block in the Dynamic Content Management administration tool. This should be a concise description on what information is provided by the content block and its benefit to an online banking end-user.:
What description should be shown in the Dynamic Content Management administration tool?:
Lastly, you will be asked to input the vertical height of your content block in pixels. This height is important as it reserves space for your content to load into without causing the layout to adjust. You can use the Development preview for Dynamic Content detailed below to test your height settings.:
What is the vertical height (in px) of your content? (Used to reserve space during loading. Min. 100 / Max. 580):
Once finished, the dynamicContent object will be added into your configuration.
##### NON EXPORTED CODE HERE -- PREPEND ALL NON EXPORTED VARIABLES WITH __ #####
##### DO NOT EDIT BELOW THIS LINE -- AUTO GENERATED CONFIG #####
FEATURE = {
"core": False,
"modules": {
"Main": {
"overpanel": False,
"primary": True,
"navigable": True,
"formPostAuth": True,
"url": "./sdk/authenticated/{featureName}",
"meta": {
"type": {
"shape": "Content",
"context": "None",
}
},
"dynamicContent": {
"type": "content",
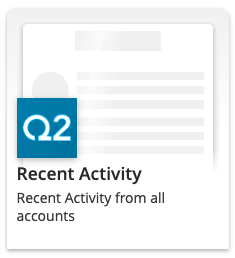
"name": "Recent Activity",
"description": "Recent activity from all accounts",
"height": "350"
}
}
}
}
##### NON EXPORTED CODE HERE -- PREPEND ALL NON EXPORTED VARIABLES WITH __ #####

##### DO NOT EDIT BELOW THIS LINE -- AUTO GENERATED CONFIG #####

FEATURE = {
    "core": False,
    "modules": {
        "Main": {
            "overpanel": False,
            "primary": True,
            "navigable": True,
            "formPostAuth": False,
            "url": "{BASE_URL}/index.html",
            "meta": {
                "type": {
                    "shape": "Content",
                    "context": "None",
                }
            },
            "dynamicContent": {
                "type": "content",
                "name": "Recent Activity",
                "description": "Recent activity from all accounts",
                "height": "350"
            }
        }
    }
}
Guidance on setting the extension title vs. the name of the dynamic content block:
For SSR extensions, providing a header in your use of get_tecton_form will call setTitle within the template.
This is useful for accessibilty purposes because it creates a <title> tag accessible to screen readers in the <head> of the current document.
html = get_tecton_form(
    "My Extension Title", # This is your header
    ...
)
For CSR extensions, it is recommended you call setTitle immediately after connect.
You can see how this is implemented in our Tecton documentation.
This strategy is useful for accessibility purposes because it creates/updates a <title> tag accessible to screen readers in the <head> of the current document.
Content Block Preview Images
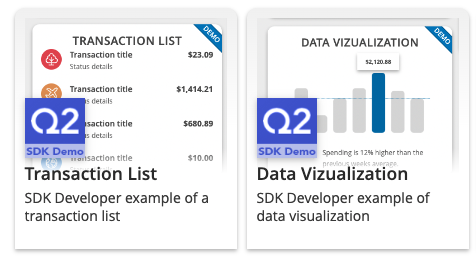
You may also provide a preview image and overlay icon for your content blocks in order to provide additional context within the administration tool. To provide images, create a folder named dynamic_content in the frontend/public location of your extension. Add two files for each entrypoint configured as [entrypoint_name].png, a large preview image (600x400), and [entrypoint-name]-icon.png an icon image (80x80) with the module name as the base of the filename.
As an example for an Dynamic Content entrypoint named ContentBlock:
Preview Image |
Icon Image |
|---|---|
frontend/public/dynamic_content/ContentBlock.png |
frontend/public/dynamic_content/ContentBlock-icon.png |
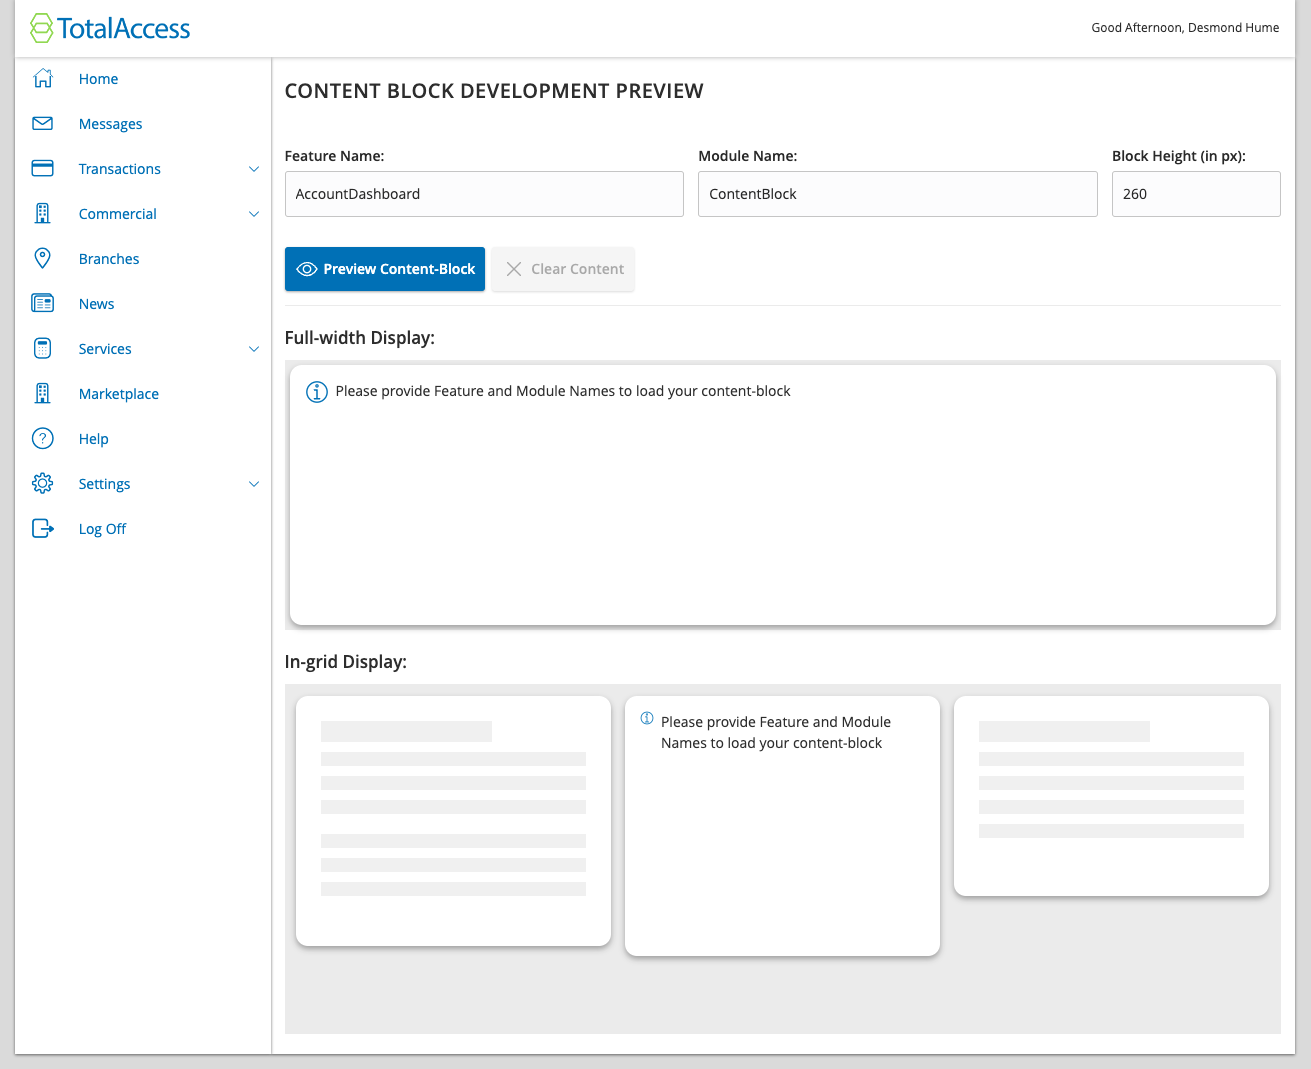
Development preview for Dynamic Content
In order to assist in the development of content blocks without them being placed, Q2 provides a development preview screen that will allow you to load and develop your content block simultaneously in full-width and in-grid display modes. You can also adjust and dial in the vertical height your content block requires. In order to load your content once your extension is installed, insert your Extension Name and Entrypoint name and click ‘Preview Content-Block’.
Note
If the Content Block Preview screen is not a menu option in your development environment, it can be accessed by changing the address to uux.aspx#/content-block-dev.